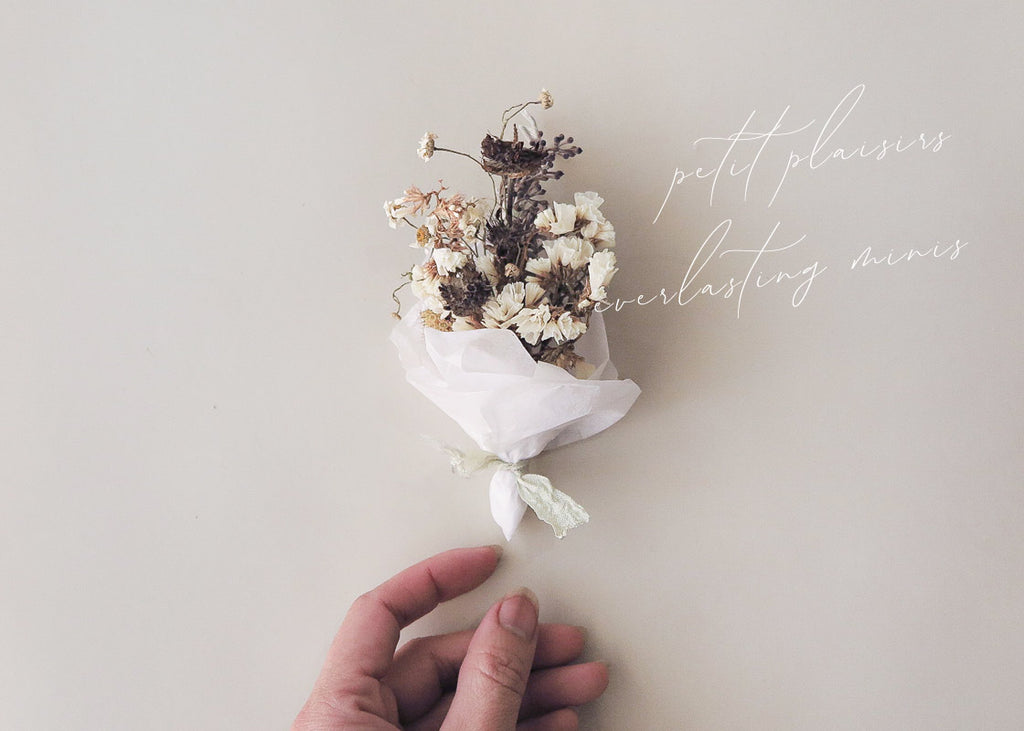
How To Make Mini Dried Flower Bouquets
Publié par ADORED VINTAGE le

I have always delighted in the timeless beauty of flowers and most especially those of dried flowers. As much as I adore fresh flowers...(certain blooms have moved me to near tears!) I find myself always drawn to the everlasting beauty of dried petals and stems... the muted color palettes invite one to glimpse into that particular bloom's past life. And yet still, the blossom is all together lovely and should be appreciated in it's current state. Very much like vintage and antique clothing. I've come across Edwardian dresses that show signs of wear and age, a bit of foxing here, some slightly unraveled threads... and all together, these signs of aging make it all the more beautiful to me...anyhow,I digress...dried flowers tend to do that to me...le sigh... let's get on to the tutorial shall we?
How To Make Dried Flower Mini Bouquets
A quick & simple step by step guide by Adored Vintage on how to make these darling everlasting mini bouquets that make wonderful little gifts or party favors for your wedding or soiree... and quite sweet sentimental tokens to craft from a beloved bouquet received for a special occasion.
Step 1: Gather Thy Blooms
Dried flowers are much easier to source than you may think! Chances are if you are an Adored Vintage girl... you probably have several bouquets lovingly saved and peppered throughout your home. If you do not, visit your local craft store or come and visit our brick n' mortar shop in Portland, Oregon and pick your own dried stems from our dried flower bar!
*TIP - Try to choose complimentary colors and stems and blooms that have balance and harmony when all together

Step 2: Tools & Supplies
You will need some twine, rope, or florist tape, a pair of sharp scissors, and sheets of tissue paper. The papers we use to wrap our mini blooms are actually recycled and reused from the many shipments we receive from the brands we work with! You will also need ribbons!
A word on ribbons... because these dried flower bouquets are so small, a bit of spare ribbon will go quite a long ways! We have used ribbons salvaged from antique garments and vintage dresses, ribbons from vintage hats that can no longer be worn, we've made strips of ribbons from silk tops and dresses no longer suitable for wearing...

Step 3: A thoughtful arrangement...
Begin to arrange your mini bouquet piece by piece flat on your work surface. You may need to eliminate certain blooms and stems if they do not work with the overall appearance of the bouquet. Do no worry about cutting the ends of your stems right now, you will do that soon! The most important part of this step is to lay out the tops of your blooms in a way that delights you!

Step 4: Tie the blossoms...
Once you have an arrangement that you like, tie the blooms together with your twine or with florist tape. Note that you will have some minor casualties are dried blooms can be quite delicate and bits will naturally fall away.

Step 5: Trim the stems
Once your blooms are tied with string, take a sharp pair of scissors and trim the ends so they are all nice and even.

Step 6: Prepare to wrap thy bundle...
Wrap your mini bundle of dried blooms with the tissue. The best way to do this is to fold the tissue so it's nearly a square shape. Then position the top of the bouquet on the corner.

Step 7: Swaddle the bonny blooms
Next you will finish wrapping your bouquet similar to swaddling a wee little babe. Fold up the corner of the paper where the bottom of the stems point towards. Then take the left side of the paper and fold over towards the center and do the same to the right side of the paper.

Step 8: Final touches
When you are done wrapping your blooms, you may want to adjust the paper tissue a bit and have the tissue fan out a little or you might want to adjust so it all looks lovely and presentable. If you do not like how the paper wrapping is looking, you can always revert back to Step 6 and Step 7. When you are satisfied with the wrapping, finish off your mini dried flower bouquet with a bit of ribbon. Sometimes we like to add vintage inspired labels and stickers (the some of the ones pictured below) for an ephemeral touch.

And that is all! Well done, dear friends! Below is a handy step-by-step guide on how to create these charming little dried mini flower bouquets that you can save to Pinterest and refer back to as needed...

I do hope you enjoyed reading this journal entry as much as I found joy in putting it together and taking the photos of all the steps... do leave us a comment if you found this post valuable and if you have questions about the crafting process... I shall do my best to help you!


Lyn le
I love it! Could you please recommend if where is the best place or container to display these cute bunches?
Danielle Casseus le
The cutest project ever. I’ll be doing this for a client very soon…. Thank you for the instructions and idea…